Showing posts with label dessert. Show all posts

Tuesday, November 18

Vanilla Bean Panna Cotta

If you're a custard kind of person (if you said "yes", no explanation needed... if the world custard does not excite any reaction in you, then don't feel left out, but I highly recommend reconsidering the virtues of this culinary delight), like me, then its close cousin panna cotta is probably near and dear to your heart (or stomach, more likely).


Panna cotta is an Italian "cooked custard", consisting primarily of milk, cream, sugar, and gelatin to give it a sexy little wobble. As the peice de resistance at my birthday dinner last sunday night, I prepared the "Heavenly Panna Cotta" from Gina DePalma's Dolce Italiano, which is easily one of my favorite recent cookbook purchases. The panna cotta was only slightly different than the classic in that it had a healthy dose of ricotta to give it just a bit more textural interest on the tongue, and of course contributing a richness and smoothness that ricotta is so darn good at providing.

The final panna cottas were not quite flecked with vanilla bean (they all fell to the bottom, sadly. I think if I'd chilled the custard slightly, then stirred and poured into the final glasses I might have averted this, but maybe by then they'd be too set?), but they tasted indeed like heaven. I used some of the leftover raspberry sauce from my morning crepes as a topping, and highly recommend it. I like to have a little something to contrast against all that creamy, and very rich goodness, so a tart little fruit topping is just the ticket.

Heavenly Panna Cotta

1 cup fresh sheep's milk ricotta or whole cow's milk ricotta
1 cup whole milk
1 1/2 cups heavy cream
1/2 cup plus 2 tablespoons granulated sugar
1/2 vanilla bean
1 packet powdered gelatin*

Toppings: Chestnut Honey or vincotto was suggested, or try a quick berry sauce like I did

Place the ricotta and 1/2 cup milk in a medium bowl and whisk vigorously until the ricotta is smooth and lump free. Place the heavy cream and sugar in a medium saucepan. Scrape the seeds from the vanilla bean with the flat side of a small knife and add them to the pan along with the bean. Place the mixture over medium heat and bring just to the boiling point, whisking occasionally.

In the meantime, whisk the gelatin into the remaining 1/2 cup milk and set aside. When the cream mixture has scalded, turn off the heat. Whisk in the remaining 1/2 cup milk and gelatin mixture. Gradually pour the liquid into the bowl with the ricotta, whisking constantly until the mixture is completely smooth. Remove the vanilla bean an strain the mixture through a chinois or fine-meshed sieve. Divide the panna cotta among 6 dessert glasses and refrigerate until set, about 4 hours.

Before serving, drizzle the surface of each panna cotta with 1 or 2 teaspoons of warm chestnut honey or a few drops of vincotto. Or use the topping of your choice!

Cook's Note: * The recipe calls for 4 sheets of gelatin, but I couldn't find any so I substituted the powdered Knox gelatin, which worked just fine. I followed her cue that 4 sheets of gelatin is equal to one of the powdered packets.

Monday, August 28

What to do with an Italian Prune Plum


I had read, over and over again, the praises of the Italian Prune Plum in magazines and in my most treasured dessert cookbooks, yet I had never tried one. When I came across them at the Farmer's Market last year, I was delighted at their miniture size, and their blue-ish purple appearance. Truth be told, they didn't taste all that different to me than say, a Santa Rosa, but I had faith in their superiority.

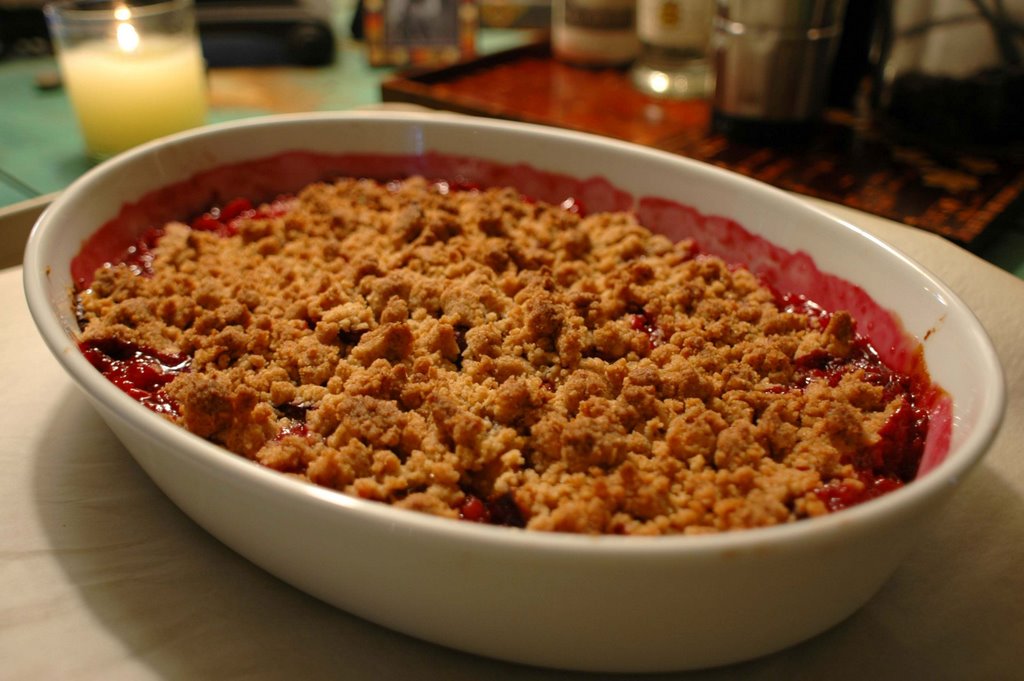
The recipe with which I chose to christen my prune plums was out of Claudia Flemings Last Course: The Desserts of the Gramercy Tavern, which I've only used several times, but flip through quite regularly. Spiced Italian Prune Plum Crisp is the kind of recipe that has set a standard in my kitchen. I had always considered crips pretty homely, and while delicious, somewhat unsophisticated. This crisp is in another league entirely. Made with flour, ground walnuts, brown and white sugar, and kissed with the essense of cinnamon and cardamom, the topping is gently mixed by fork while melted butter is poured slowly into the bowl, creating nubby, wet crumbs that are sprinkled generously, (and in great quantity) over the quartered plums.

The glory of the Italian Prune Plum lies in its size. Because it is small, and less juicy than other plums, when it is baked, it concentrates in flavor and texture, so that the fruit maintains more of its shape, and because there is less liquid, the flavor is more intense. The crisp topping is just that: Crisp. While so many crisp toppings end up slightly gummy, this mixture ends up with a beautiful crunchy texture, somewhat along the lines of a butter cookie, but with a warm and rich flavor from the ground walnuts. While I usually can't resist the opportunity to try something new, when I saw some gorgeous Italian Prune Plums at Whole Foods on Saturday, I didn't even hesitate before pulling out this recipe again.

I would highly recommend using this crisp topping on any of your favorite fruits, but if you can find Italian Prune Plums, give them a try - it's a wonderful combination.

Enjoy!

Spiced Italian Prune Plum Crisp

"Served warm from the oven, this fragrant plum crisp makes a heavenly late-summer treat. The cinnamon and cardamom really bring out the inherent spicy flavors that develop inside cooked prune plums; and the nutty crisp topping is a delectable contrast to the soft, flavorful fruit that bubbles colorfully underneath it."

1 1/4 cups all-purpose flour (I used half whole-wheat pastry flour)
1/3 cup plus 1 tablespoon ground walnuts
1/2 cup granulated sugar
1/4 cup firmly packed dark brown sugar
1/4 teaspoon ground cinnamon
1/8 teaspoon ground cardamom (I used nutmeg instead; I didn't have cardamom)
1/2 cup (1 stick) unsalted butter, melted and cooled to room temperature
2 1/4 pounds Italian prune plums, pitted and quartered (6 cups)

Preheat the oven to 375 degrees. In a large bowl, whisk together the flour, walnuts, 1/4 cup granulated sugar, the brown sugar, cinnamon and cardamom. Slowly drizzle in the butter and combine with a fork until the mixture is crumbly. Do not allow the mixture to come together in a ball. Break up any large crumbs with your fingers. The crumbs should be smaller than 1 inch in size (otherwise they won't cook all the way through).

In another large bowl, combine the plums and the remaining 1/4 cup of granulated sugar and toss well. Spoon the fruit into a buttered 2-quart gratin or shallow casserole dish, mounding the fruit in the center. Evenly sprinkle the crumbs on top of the fruit.

Bake the crisp until the fruit is bubbling and the topping browned, 50 to 55 minutes. Serve hot or warm.

Serving suggestions: Serve with whipped creme fraiche, vanilla or basil ice cream.

Serves 8 - 10

Monday, August 7

How My Peach Became a Cobbler


When I come home from the farmer's market, toting a basket of fruit, the inevitable chain of events that follows goes something like this: I place the fruit on the counter, walk over to my recipe binders to grab the blue dessert binder, then go stand in front of my cookbook cabinet, scanning titles, mentally flipping the pages I know so well, grab a few books for inspiration, then plop myself on the couch, preferrably with a cup of coffee in hand, to decide what fate my little fruits will meet.

A perfect piece of fruit sometimes needs no accompaniment at all, but usually I can't resist an opportunity to pull out the flour and sugar, so that perfect piece of fruit becomes a perfect little dessert. In the world of desserts, there is terrain I've yet to explore...treats and goodies that have never emerged from my oven, such as madeleines and canneles. But when it comes to fruit, I always ponder the classic options first - will it be a pie this time, or a tart? A cobbler or a buckle? A crisp or a slump? Or, a cake, with tender pieces of fruit tucked inside?

The answer to these questions depends on what my motivation is that particular day. If I'm baking for the sake of baking, it's probably a pie, if it's for my loving husband, he will probably ask for a cobbler, and if it's just for me, I adore a good crisp, with a big melting scoop of ice cream on top. This time around, the fruit at hand was the noble peach, and the motivation was my sweetie, so peach cobbler it was! The recipe I chose was from the cookbook I've mentioned before, Ripe for Dessert, by David Lebovitz. The following recipe is adapted slightly from the original - Nectarine and Blueberry Cobbler with Big Fluffy Biscuits.

Peach Cobbler
Adapted from Ripe for Dessert, by David Lebovitz
Serves 6

For Fruit Filling:
7-9 medium ripe peaches, peeled (about 3 lbs)
4-6 tablespoons sugar, depending on the sweetness of your peaches
2 teaspoons lemon juice
2 teaspoons flour
1 teaspoon vanilla extract
Optional: One 6 ounce basket blueberries, raspberries or blackberries

For Biscuits:
1 1/2 cups flour
1 teaspoon baking powder
1/4 teaspoon baking soda
1/4 teaspoon salt
2 teaspoons sugar
1/2 teaspoon cinnamon
1/4 teaspoon nutmeg
Pinch of ground ginger
4 tablespoons unsalted butter, frozen
2/3 cup buttermilk
1 large egg yolk
1 teaspoon milk

Position your oven rack in the middle and preheat the oven to 375 degrees. Cut the peaches in half, remove the pits, then cut into 1/2 inch slices. In a large mixing bowl, toss the peaches with the sugar, lemon juice, flour, vanilla, and berries if using.

Transfer the mixture to a 2-quart baking dish and roast the fruit for 30-40 minutes, turning once during baking, until nicely softened, and the juice have released.

To make the biscuits, combine the flour, baking powder, baking soda, salt and 2 teaspoons of sugar in a medium bowl. Using the largest holes on a box grater, grate the frozen butter into the flour mixture. Stir in the buttermilk until the dry ingredients are just moistened. Spoon the biscuit batter over the fruit in roughly 6 equal mounds.

Mix the egg yolk with the milk and brush over the tops of the biscuits, then dust liberally with additional sugar and place the cobbler back in the oven for 20 - 25 minutes, until the biscuits are golden brown.

Notes: I loved the method David used here of grating the frozen butter into the biscuit batter - it was so easy, and the biscuits really did turn out big, fluffy, and tender. The original recipe did not call for any spices in the biscuits, but I wouldn't skip them...that was the one thing everyone commented on, and the biscuits might seem a little bland without them, as they are fairly low in fat. Next time I might even play around with adding a touch more sugar to the biscuits, or something like finely chopped nuts or candied ginger.

Monday, July 3

If You're Going to Eat a Brownie

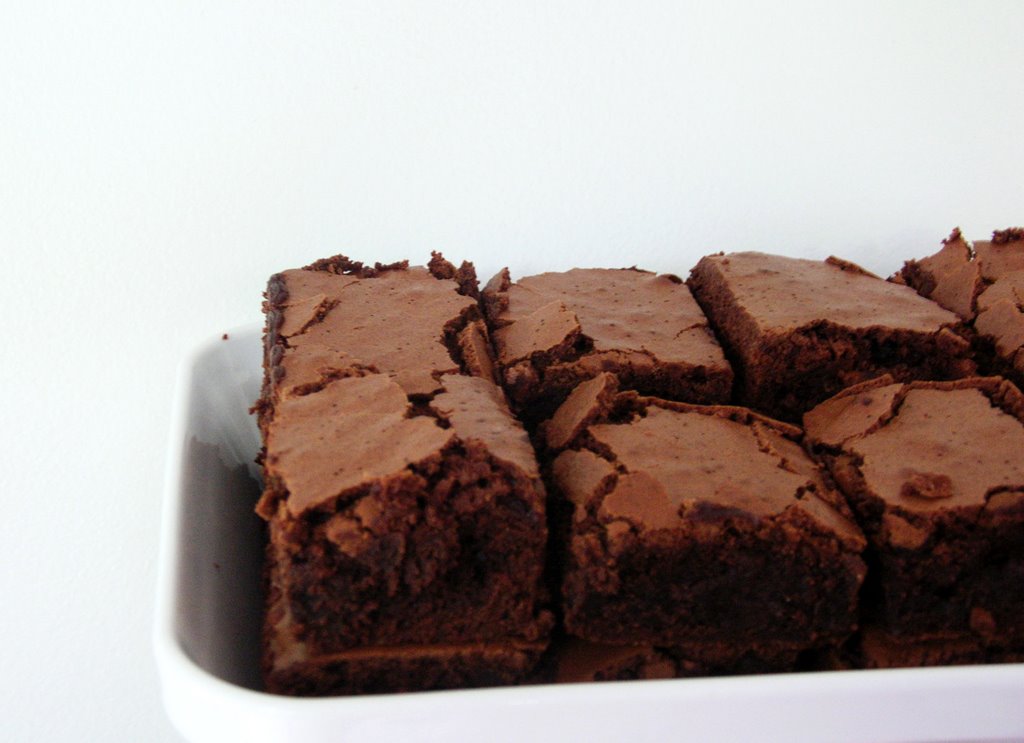
Brownies are a favorite dessert of many, yet they are often misunderstood, and therefore, require some study if one is to pursue a brownie worth their while. A brownie is, above all, a means by which chocolate and sugar are delivered to the palate. A piece of cake can never satisfy in the same way a dense and crackly-topped brownie can, and because a brownie is far easier to assemble and bake, requires less equipment, and is more easily enjoyed than most cakes, one might even call a brownie more egalitarian than a piece of cake.


The single most important ingredient in a brownie is chocolate. Obvious, no? The chocolate may be present in the form of either melted high-quality chocolate, or cocoa - there are fine brownies to be had in both categories, but the brownie under the lens today is that which starts by melting chocolate and butter slowly together over gentle heat, until fully incorporated into one delicious union of fat and flavor. Beyond this crucial step, sugar is added for sweetness, eggs for their binding and lifting qualities, a small amount of flour for structure, salt for heightened flavor, and vanilla for its smooth flavor and affinity for our star ingredient.

There are some unfortunate souls out there that are confused about brownies, and are easily duped into consuming brownie-imposters. Once armed with the proper criteria by which to judge an excellent brownie, even a beginner can recognize the real thing.

The Rules of Brownie Engagement
As laid down upon this fourth day of July, 2006

1. A brownie must never originate from a box, or include in it's directions, "just add water".
2. A brownie must be fudgy, never cakey
3. A brownie should never wear a crown of frosting; to do so redefines said brownie into a new classification. Cake.
4. A brownie should have at minimum two distinct textures present; an excellent brownie displays 3 variant textures.
5. When baking brownies, always set the timer earlier than the recipe's baking time would suggest; the fastest way to ruin a brownie is to overbake it. When in doubt, pull them out! An undercooked brownie never hurt anyone, but an overcooked brownie has disappointed many a soul.
6. A brownie should always be consumed in the presence of some form of dairy product; milk and ice cream are highly recommended. To consume without dairy back-up is to diminish the palate's ability to fully experience the brownie's nuanced flavors.

In my time as a serious brownie baker, I have encountered only a handful of recipes that have made it into my recipe binder. My first encounter with outrageous brownies was Palm Beach Brownies, by Maida Heatter, and my most recent encounter was with David Lebovitz's Absolute Best Brownies with Dried Cherries. After receiving the Martha Stewart Baking Handbook a few months back, I immediately tagged the Fudgy Brownies, hoping they would be everything they promised....dense and fudgy, and not for the faint of heart. I am happy to report, this brownie scores top points in all categories, and will be permanetly added to my brownie rotation.


Fudgy Chocolate Brownies
Adapted from Martha Stewart's Baking Handbook
The recipe below differs from the published recipe in that it is doubled.

Makes 16 large or 32 regular brownies

16 ounces unsalted butter (2 sticks), sliced into 1-inch pieces
16 ounces good-quality bittersweet chocolate, roughly chopped
3 cups sugar
8 large eggs
2 teaspoons vanilla extract
1 1/2 cups flour
1 teaspoon salt

Preheat the oven to 350 degrees. Line a 9 x 13 inch baking pan with foil, leaving a 1-inch overhang on two sides. Butter the foil; set aside. Place butter and chocolate in a heatproof bowl set over simmering water; stir frequently until chocolate and butter are melted, about 10 minutes. Remove bowl from heat; let cool to room temperature, 15 - 20 minutes.

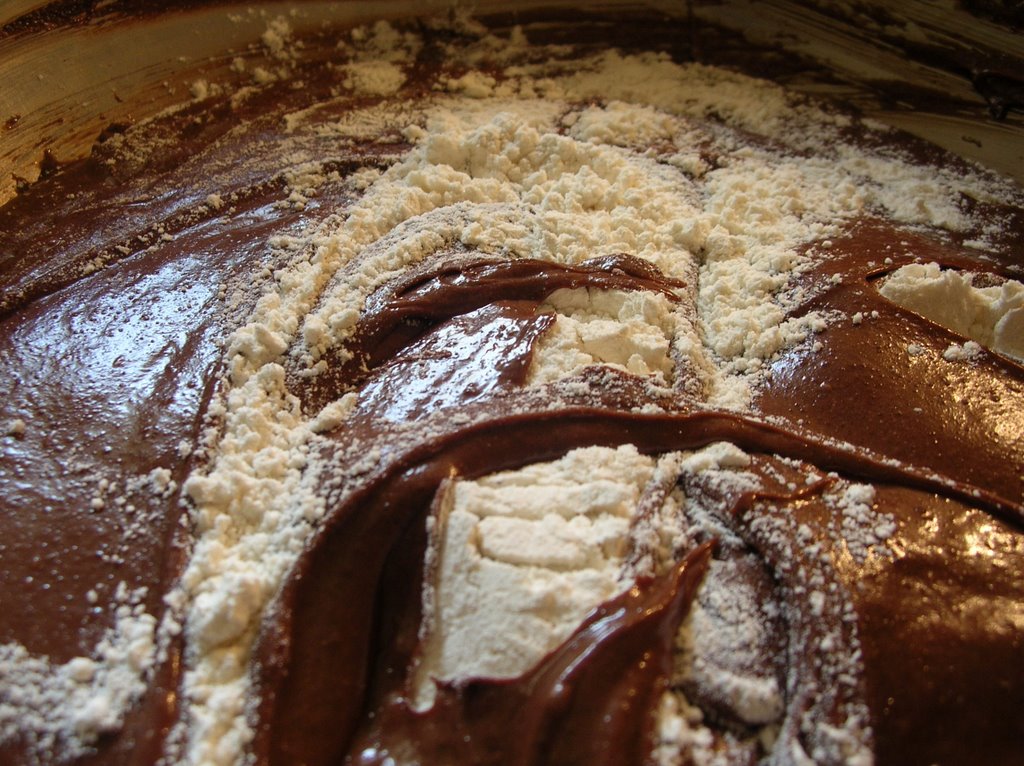
Stir the sugar vigorously into the melted chocolate with a wooden spoon until combined. Stir in the eggs one at a time, until fully incorporated. Whisk in the vanilla. Gently fold in the flour and salt.

Pour the batter into the prepared pan, and smooth top. Bake until a cake tester inserted in the middle comes out with only a few moist crumbs attached, anywhere from 35-45 minutes. Start checking the brownies around 30 minutes to gauge how quickly they are baking; do not overbake! Transfer the pan to a wire rack to cool completely.

Thursday, June 29

I'm Berry Overwhelmed


Is it possible to have too many berries? To feel burdened by the amount of juicy little treasures that you find yourself in possession of? My excitement got the better of me at the farmer's market last weekend, and by mid week, I was in a tizzy trying to think of ways to use up my berry bowl.

Despite the fact that I feel like I've overindulged in desserts lately, I couldn't think of any better use for a great pile of berries than to throw them into a pie, so that they would meet their end in a much more respectable way than by mold and fruit flies upon my countertop.

I turned to several of my cookbooks looking for inspiration, but quickly decided on sticking to what is becoming my "go-to" bible for all things sweet and fruity. Ripe for Dessert, by David Lebovitz, is a beautiful book, filled with gloriously tempting recipes, all of which put fruit center-stage. I have tried several recipes from the book that I will absolutely make again and again; Apple and Pear Crisp with Polenta Topping and Grappa-Soaked Raisins, Absolute Best Brownies with Dried Cherries, and Peppery Chocolate Cherry Biscotti.

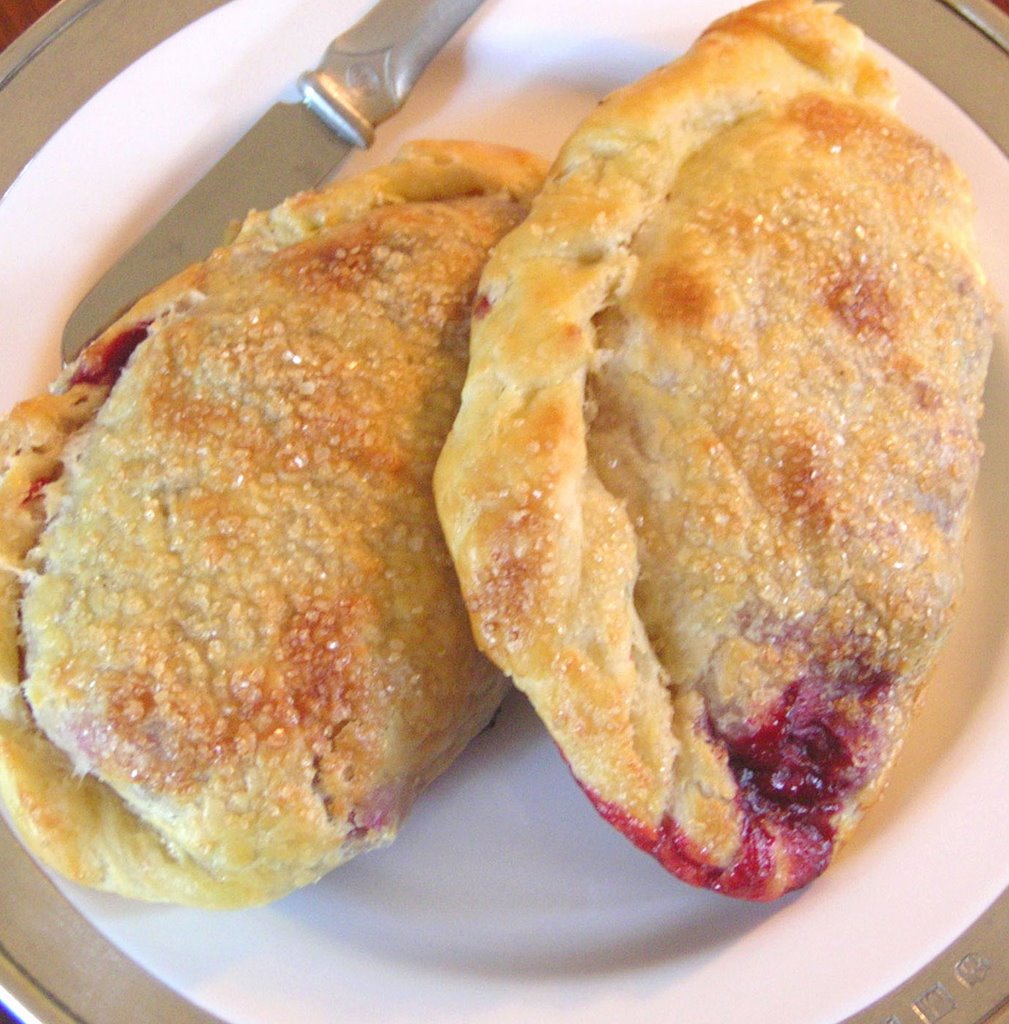
I decided on Boysenberry Turnovers. I've never made a turnover, but love the idea of a hand-held pie. My favorite local bakery, Ollie's, sets the standard in this category, and my I wanted to see if I could create something that would compete with their pastry-perfection. My turnovers were, well, "rustic" in appearance, but I'm certain that nothing more than a little practice would remedy the issue, and a closer eye on the directions....I folded my turnovers into a square shape, instead of the triangle that David intended.

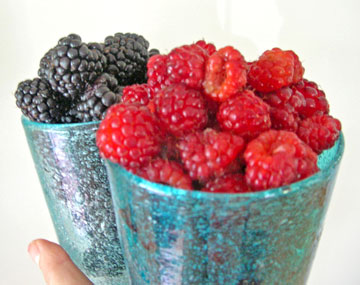
I strayed from the recipe only in that I used a mixture of blackberries and raspberries for the filling, and used organic evaporated cane vanilla sugar. The turnovers were delicious, and I loved the strong presence of lemon in the filling, which really played off the sweet-tart flavor of the berries. The pastry had good flavor, but lacked the crispness that I was looking for, perhaps due to the addition of cream cheese in the dough, which was supposed to make it easier to roll out. I think next time around I would use my favorite pie crust recipe and see how the results differed. The leftover turnovers had definitely turned "soft" the next day, but I still polished one off with no problems. With some experimenting, I'd say this recipe is a keeper.

Berry Turnovers
Slightly adapted from Ripe for Dessert, by David Lebovitz

For Dough:
1 cup flour
1 tablespoon sugar
1/2 teaspoon salt
5 tablespoons unsalted butter, cut into 1/2 inch cubes and chilled
2 ounces cream cheese, also chilled
3 tablespoons ice water

The Filling:
2 1/4 cups berries
2 tablespoons sugar
Grated zest of 1 lemon
1 tablespoon flour
1 egg yolk
1 teaspoon milk or heavy cream
Turbinado sugar for sprinkling

To make the dough: Mix together the flour, sugar, and salt. In the food processor, mix in the butter pieces until they're half their original size. Add the cream cheese in small pieces and contine to pulse until the pieces of butter are like small peas.

Transfer the mixture to a bowl and sprinkle the ice water over. Gently mix in, just until the dough comes together, adding more water if necessary, only 1/2 tablespoon at a time. Wrap in plastic and shape into a thick, flat square. Refrigerate one hour or longer.

To bake the turnovers, position the oven rack in the center of the oven and preheat to 400 degrees. Line a baking sheet or nonstick baking mat with parchment (don't skip this! they make a mess!).

To make the filling: Toss the berries, sugar, lemon zest and flour together in a medium bowl.

Divide the dough into 4 even pieces. Only a lightly floured surface, roll each piece out into a 5 inch square (or as close as you can get to a square!). Place one quarter of the berry mixture in the center of each square of dough. Brush the inside edges of the pastry with water and fold the dough over the berries, enclosing the filling and create a triangular shaped turnover. Pinch or crimp the edges securely.

Beat together the egg yolk and the milk or cream, brush each turnover with the egg glaze, and sprinkle each one liberally with coarse sugar. Poke a slit in the top of each turnover with a sharp knife.

Place the turnovers on the prepared baking sheet and bake for 20 minutes. Serve warm or at room temperature.

Serves 4

Monday, June 19

Sweet Little Cakes

These past two weeks have been filled with errands and a seemingly endless list of chores. Leaving town for a month-long vacation isn't a hardship by any means, but it creates a small mountain of "catch-up" activities that prevent you for weeks from doing anything remotely similar to relaxing. This weekend we saw the valley on the other side of the mountain. Having finished the last of the laundry and other essentials, Dustin and I painted the bathroom, tended our neglected garden, and placed the last few windows in the greenhouse. Our chores were done, and we sat, after dinner, wondering if there was anything sweet we could whip up, as a reward for our hard work.

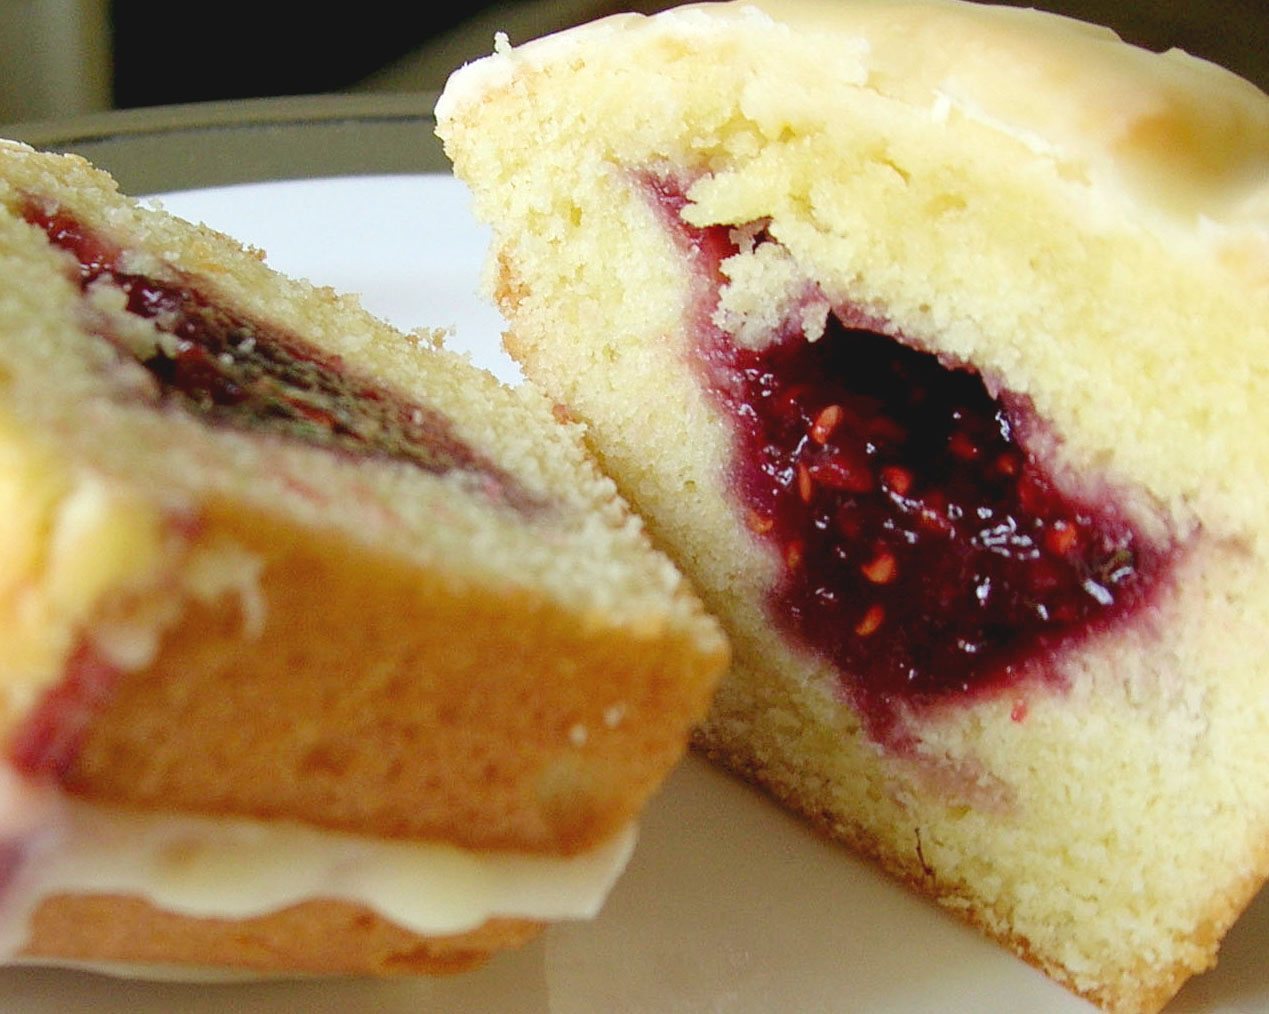
The answer was lying in my recipe basket, where it has been patiently waiting for the right moment to be tested. Dustin and I made it a team effort, and whipped up a batch of "Individual Strawberry Jam Cakes", from Martha Stewart. The cake was tender, but sturdy enough to hold that luscious little jammy surprise in the center. Our cakes were filled with raspberry jam, which was wonderful...the perfect handheld dessert. Much to Dustin's pleasure, the end result was akin to a jelly-filled doughnut, but better, in my opinion. We scraped every last bit of icing from the parchment placed to catch the drips, and poured every little drop right back on the top of those sweet little cakes.

Individual Strawberry-Jam Cakes
From Martha Stewart Living Magazine

1/2 cup (1 stick) unsalted butter, room temperature, plus more for greasing tin
3/4 cup granulated sugar
1 teaspoon finely grated orange zest (I didn't have oranges, but I'm sure this would be good)
2 large eggs, separated
1 1/2 cups all-purpose flour
1/2 teaspoon baking powder
1/4 teaspoon salt
1/4 cup milk (I used skim with no adverse effects)
6 tablespoons strawberry jam (or your favorite)
1 1/2 cups confectioner's sugar (I used more, to make the icing "stick" better)
1/4 cup freshly squeezed orange juice

Preheat your oven to 350 degrees. Butter a standard 6-cup muffin tin; set aside. In a medium bowl, beat butter, granulated sugar, and zest until light and fluffy. Beat in egg yolks one at a time until creamy; set aside. Into a small bowl, sift flour, baking powder and salt. Add flour mixture in alternating batches to butter mixture; set aside.

In a clean bowl, whisk egg whites to soft peaks; fold into batter. Divide half of batter among muffin cups. Make an indentation in the middle of each; fill with 1 tablespoon jam. Top with remaining batter.

Bake until a cake tester inserted in top cake layer comes out clean, about 30 minutes. Unmold cakes, and transfer them to a wire rack to cool. In a small bowl, whisk together confectioner's sugar and juice. Place rack over parchment paper; drizzle cakes with glaze.

Makes 6 small cakes

Notes from the Baker: These cakes were great right out of the oven, but I liked them best the second day, after the icing had hardened on top. I was surprised that they stayed moist and tender for days afterward. The texture reminds me of a poundcake, but without being heavy or greasy at all. I was conservative with the jam this time, for fear of it leaking out and making a mess, but next time I will try and increase the amount of jam filling in the middle, to ensure that each bite is filled with berry-goodness.

Vermont Farm Table